| Just
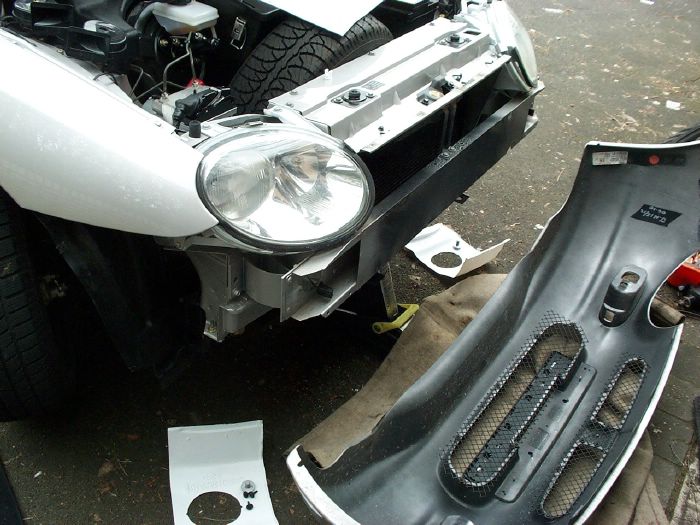
a few words to the rear standards fog guard lamps. Rear
fog guard lamps are incorporated into the tail lamp units. A warning lamp
in the instrument cluster illuminates when the rear fog guard lamps are
on. Operation is controlled by a switch on the centre console and the
multi function ECU. For the rear fog guard lamps to operate the headlamps
must be on and the ignition switch must be in position II. Rear fog guard
lamps operation is automatically cancelled at ignition off.
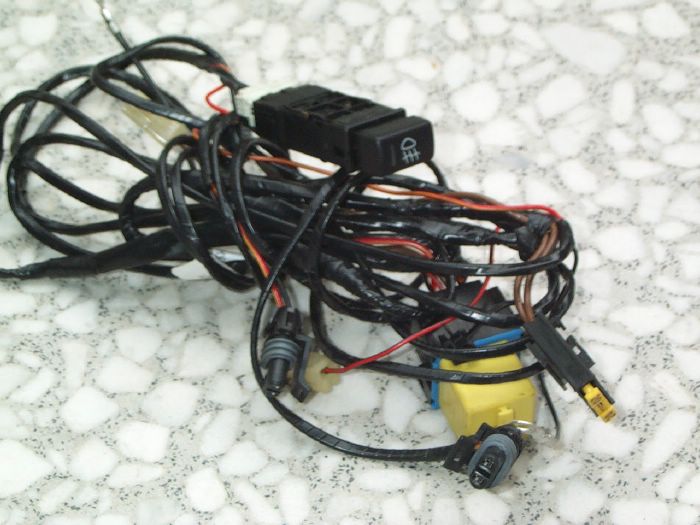
Power supplies
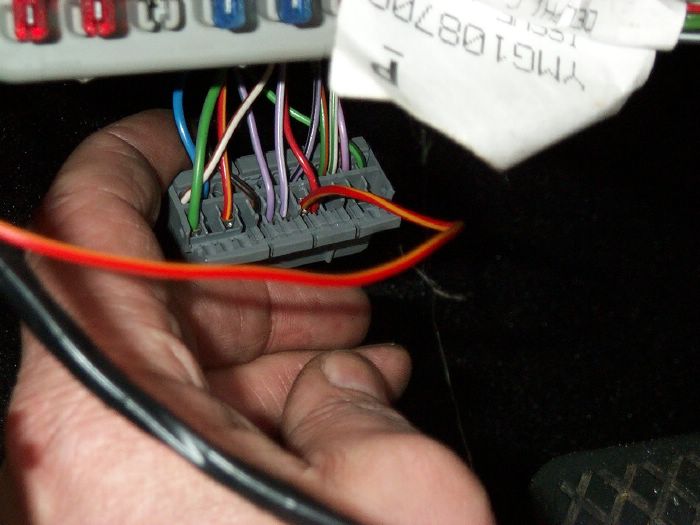
Fusible link 1 in the under bonnet fuse box supplies a permanent feed
to the headlamp lighting switch on a brown wire.
Fusible link 4 in the under bonnet fuse box supplies a permanent feed
to the ignition switch on a brown-pink wire. When the ignition switch
is in position II, the feed is connected to fuse 1 in the passenger compartment
fuse box on a black yellow wire. Fuse 1 supplies the feed to the coil
of a fog lamp relay in the multi function ECU on a green wire.
When the headlamps
are on, a feed from the lighting switch is connected to fuses 9 and 11
of the passenger compartment fuse box on blue-pink wires.
Fuse 9 feeds the switch contacts of the fog lamp relay in the multi function
ECU on a blue-red wire.
Fuse 11 supplies a feed to a switch in the multi function ECU on a blue-black
wire.
Pressing the rear fog guard lamp switch temporarily earths the switch
in the multifunction ECU by connecting the red-yellow wire, between the
multi function ECU and the
rear fog guard lamp switch , to the Black wire between the rear fog guard
lamp switch and an earth point. The switch closes and earths the coil
of the fog lamp relay on the Black wire between the multi function ECU
and an earth header. The fog lamp relay energises and connects the supply,
from fuse 9 in the passenger compartment fuse box, to the blue-yellow
wires between the multi function ECU and the:
- LH and LH rear
fog guard lamp; the lamp is earthed by a Black wire connected to an earth
header and illuminates.
- Rear fog guard warning lamp in the instrument pack; the warning lamp
is earthed by a Black wire connected to an earth point via the passenger
compartment fuse box and illuminates.
- Tell tale LED in the rear fog guard lamp switch; the LED is earthed
by a Black wire connected to an earth point via the passenger compartment
fuse box and illuminates.
Turning the ignition
switch off, or pressing the rear fog guard lamp switch again, de-energises
the fog lamps relay and extinguishes the rear fog guard lamps. Turning
the lighting switch to side lamps or off extinguishes the rear fog guard
lamps but, while the ignition switch remains in position II, the fog lamp
relay remains energised. If the lighting switch is subsequently turned
back to the headlamps position, the rear fog guard lamps illuminate again.
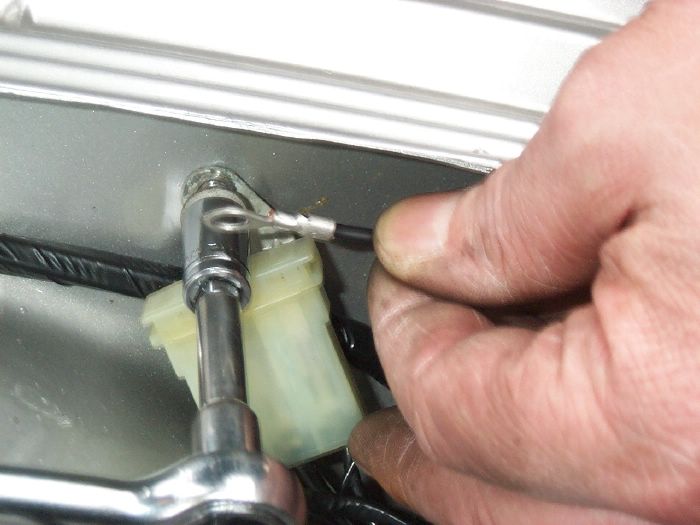
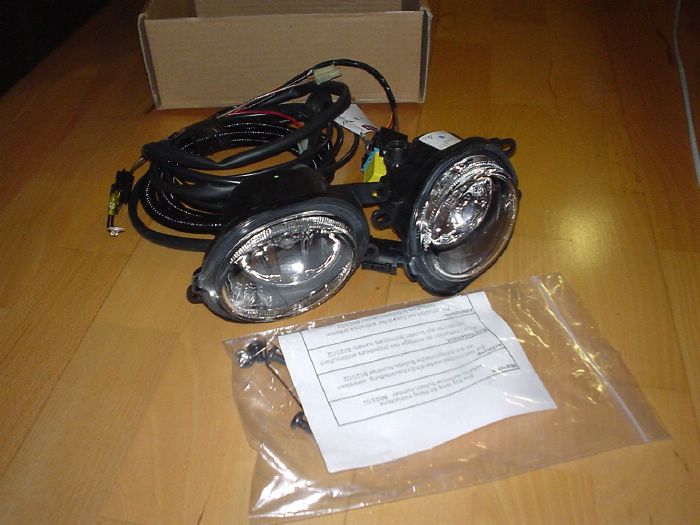
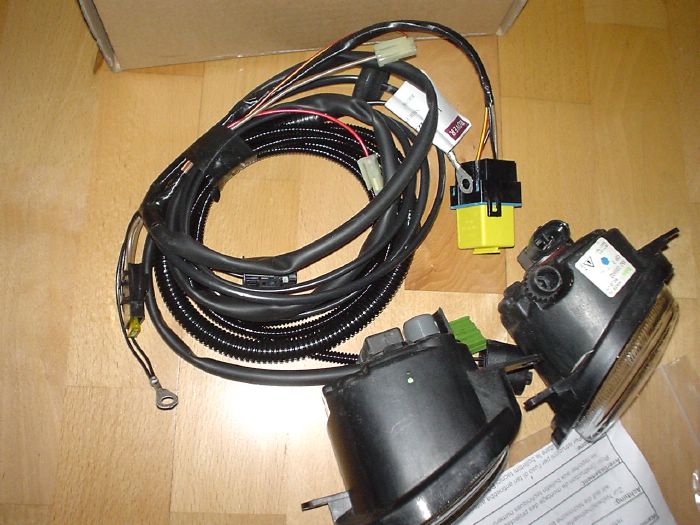
12V/21W GLB 382 is
hopefully the right No.
To answer your question.
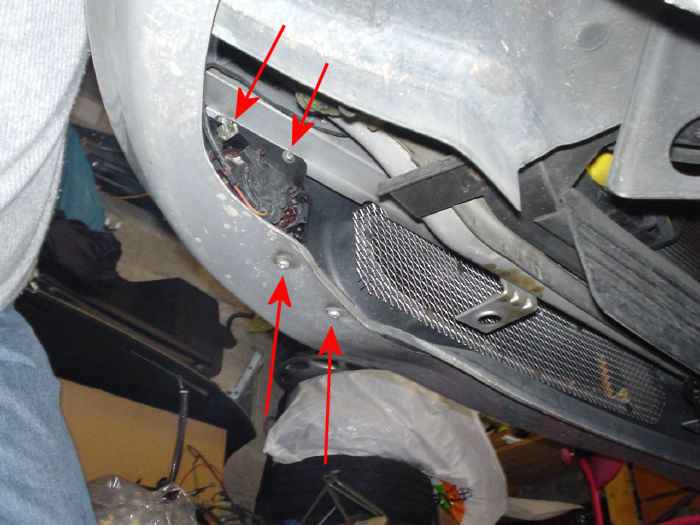
I assume the relay is located inside the MFU, but can be wrong.
http//:www.mgfcar.de/MFU/index.htm
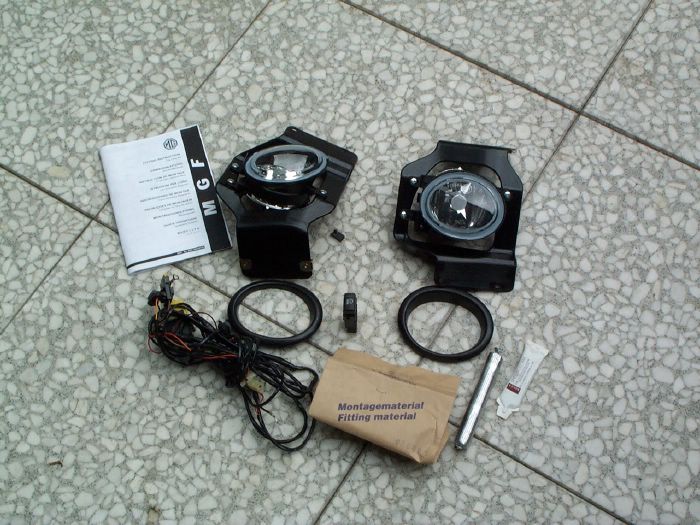
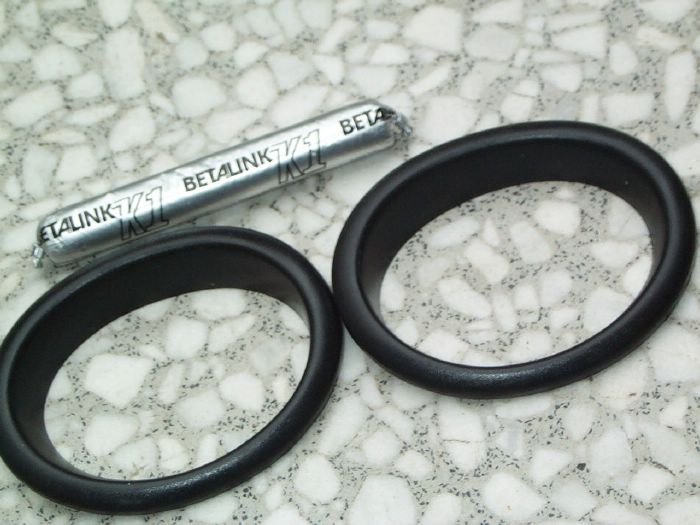
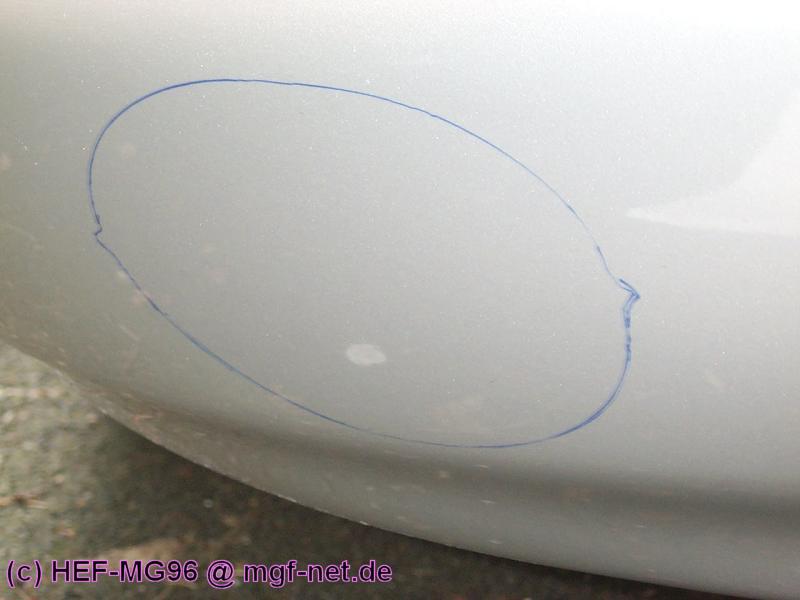
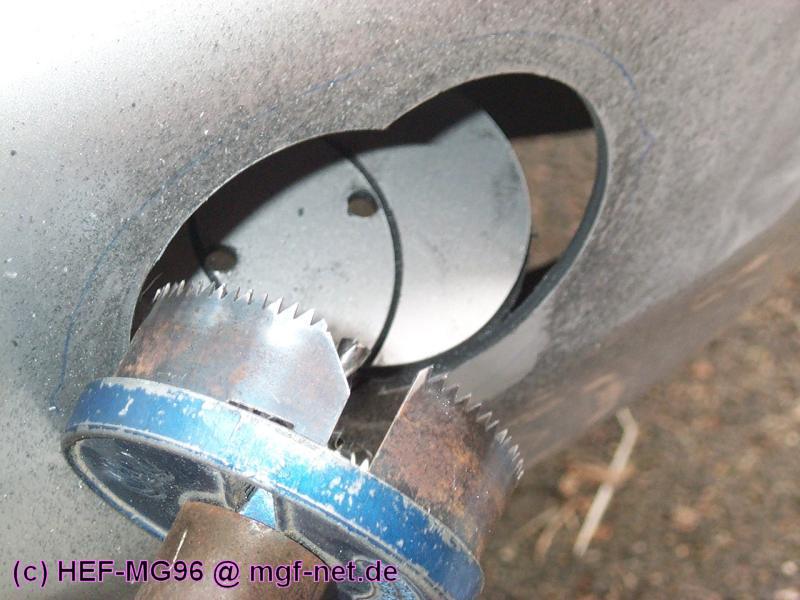
BTW. the plastic frame
of the foglight (right one) has the number VBU100540, but it is not listed
in the MGR spares files. |
![[Click to enlarge image]](DCP_4764.jpg)
![[Click to enlarge image]](DCP_0986.jpg)
![[Click to enlarge image]](DSC00596.jpg)
![[Click to enlarge image]](DSC00597.jpg)
![[Click to enlarge image]](DSC00598.jpg)
![[Click to enlarge image]](DCP_1622.jpg)
![[Click to enlarge image]](DCP_1623.jpg)
![[Click to enlarge image]](DCP_1624.jpg)
![[Click to enlarge image]](DCP_1625.jpg)

![[Click to enlarge image]](DCP_4703.jpg)
![[Click to enlarge image]](DSC00595.jpg)

![[Click to enlarge image]](DSC00591.jpg)