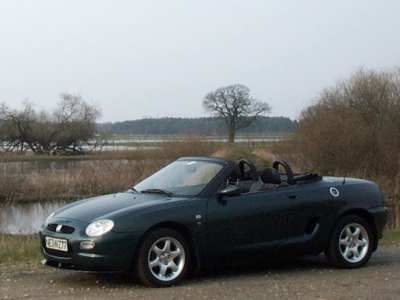
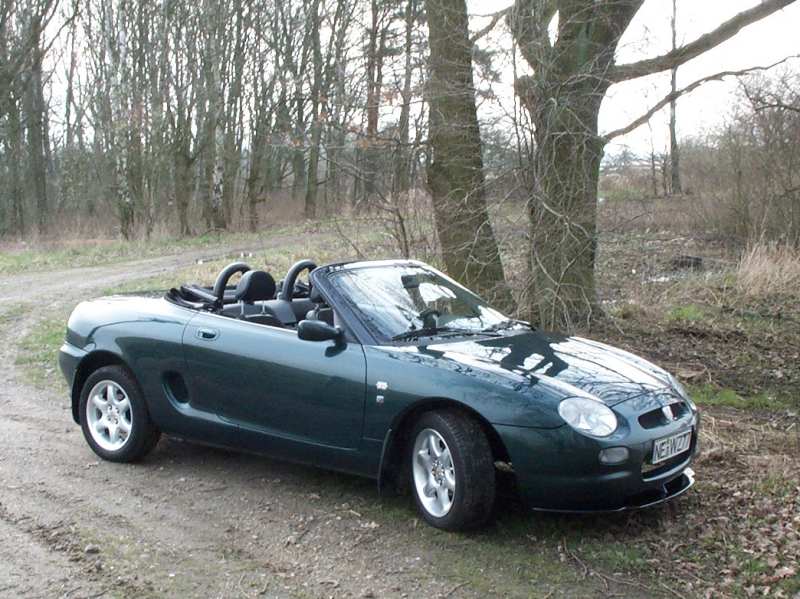
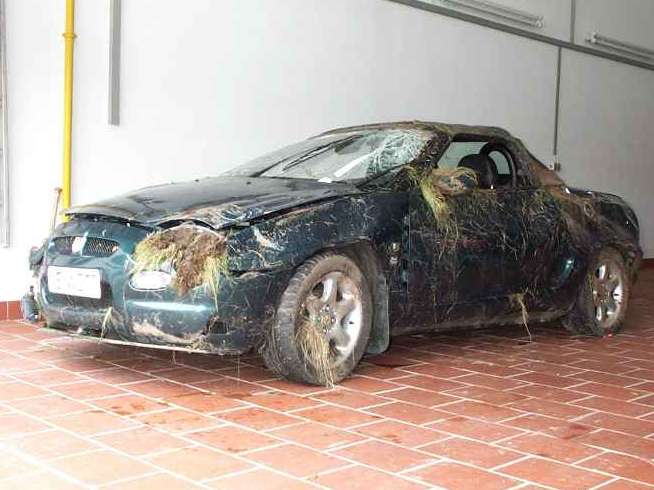
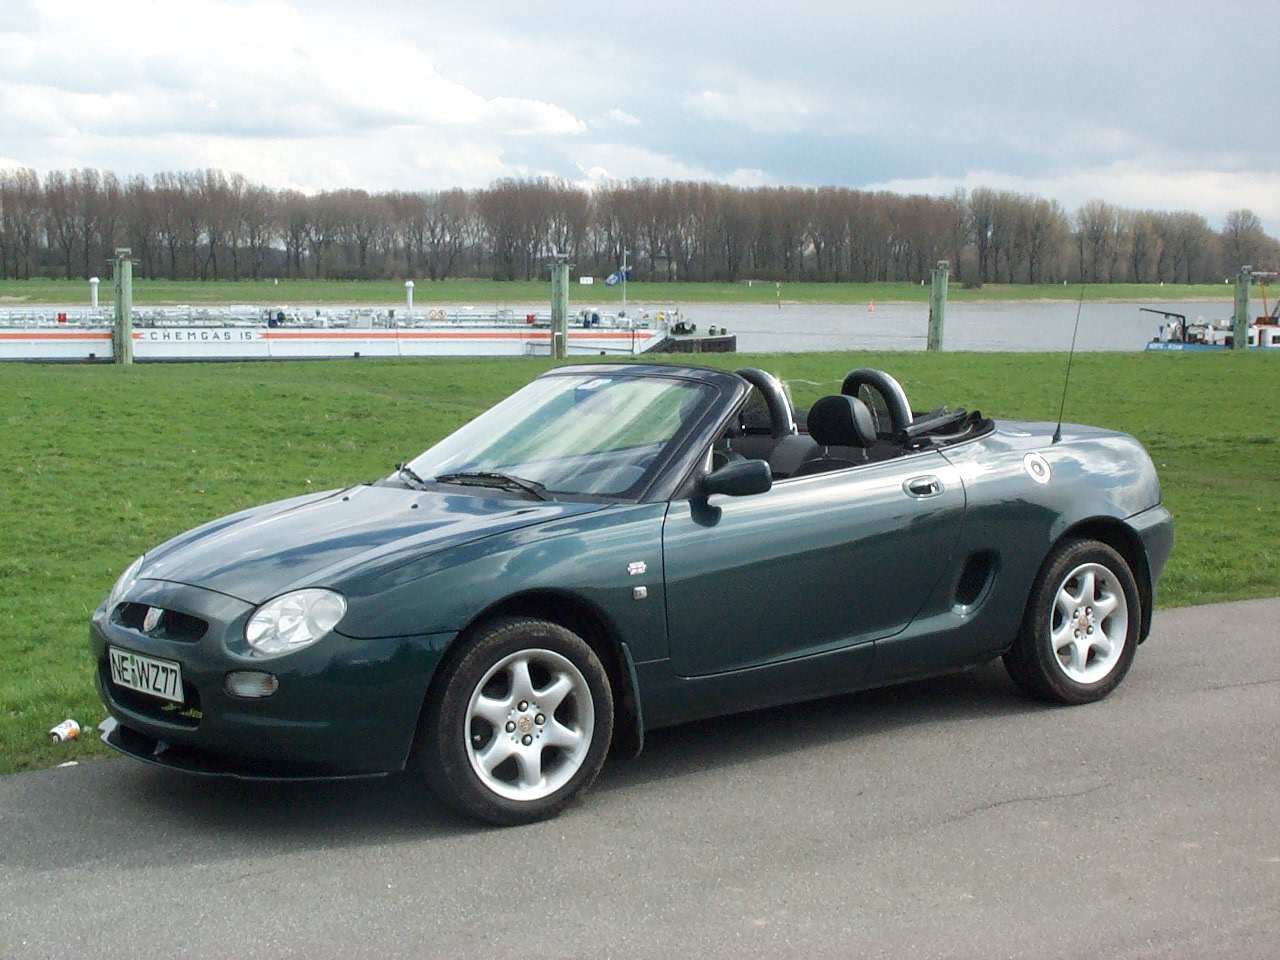
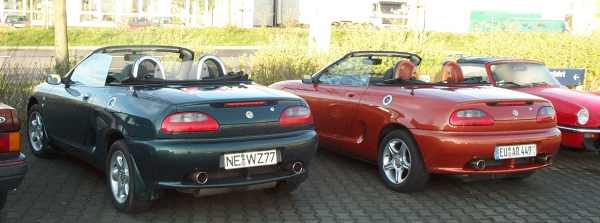
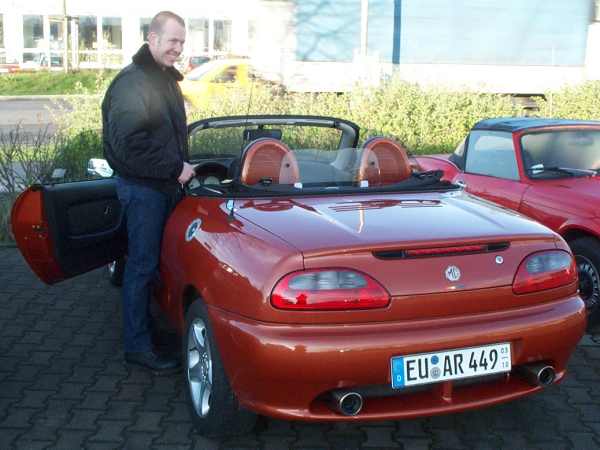
I got this nice MGF enhancement from my dear wife for my 48th birthday
The above car doesn't exist any longer. I unfortunately crunched the car six month later, but survived the roll over accident non-hurt
 |
 |
|
 |
|
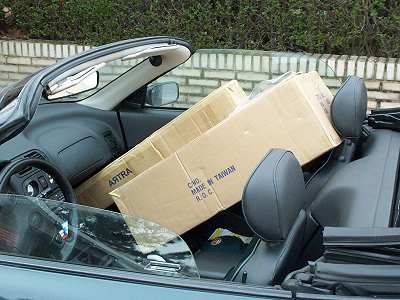
how it arrived directly from Taiwan
|
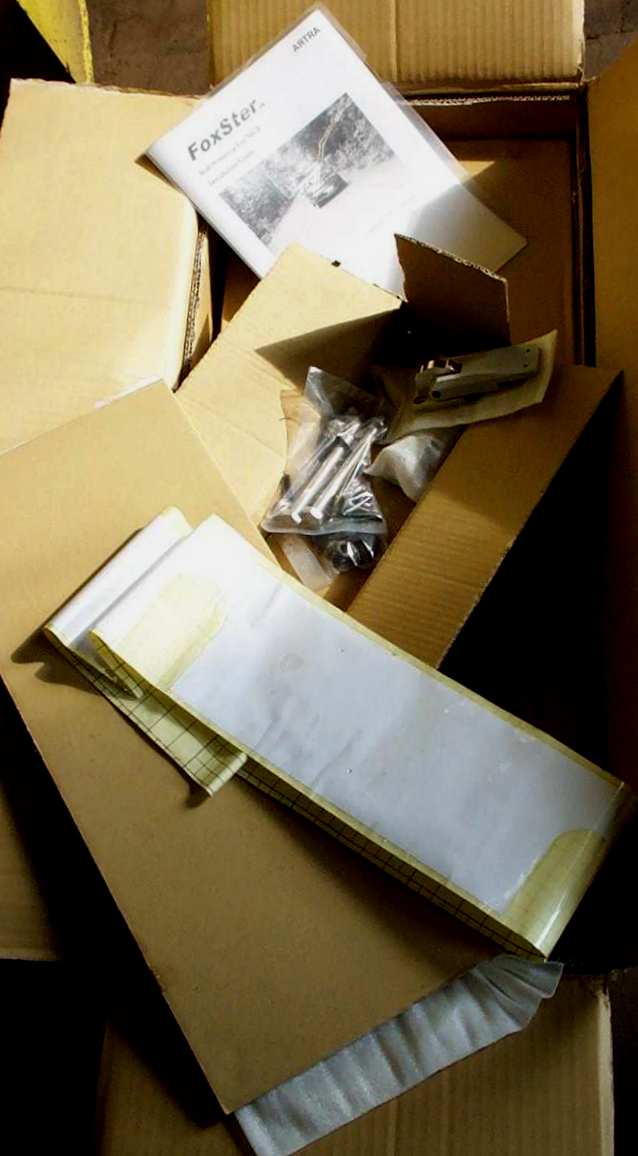
Kit package No. 2. All parts secure packed in foam bags
|
multifunction
alloy main frame, individual marked with a serial Number
|
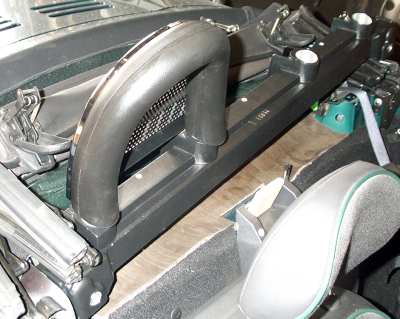
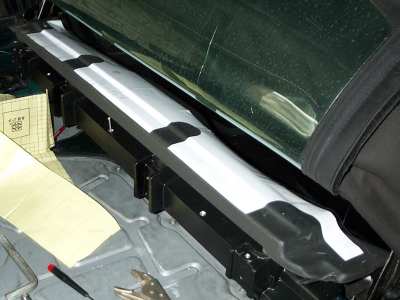
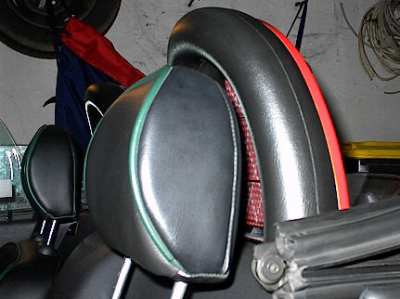
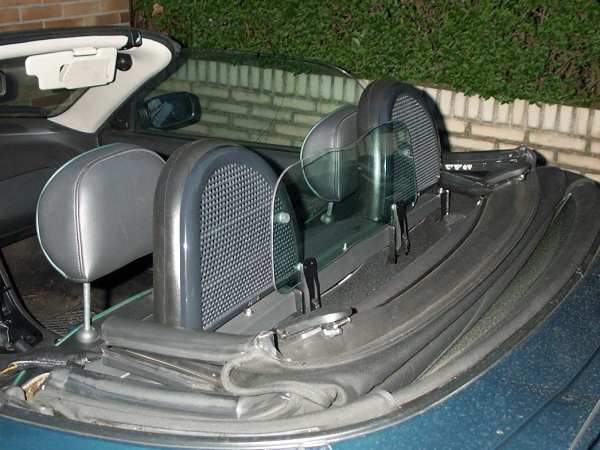
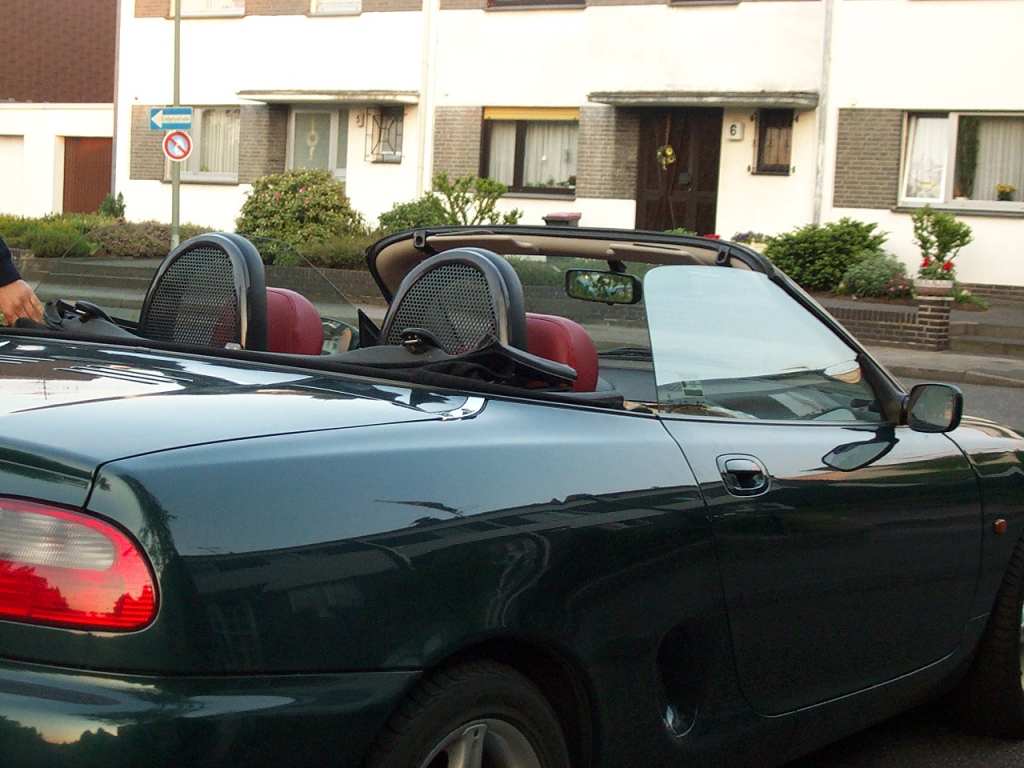
The first try :) it waits on getting assembled |
 |
 |
 |

|
|
off
the T-Bar
One of two clips got broken, Oh, its an MG :) ... or my poor craftmans skills, who knows ... |
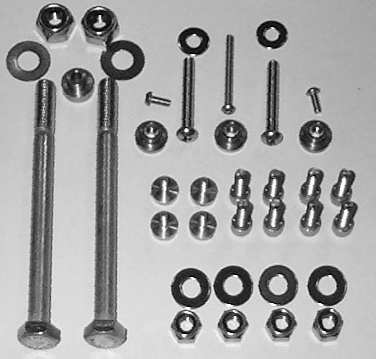
A load of stainless steel bolts, washers, nylock nuts and studs :) |
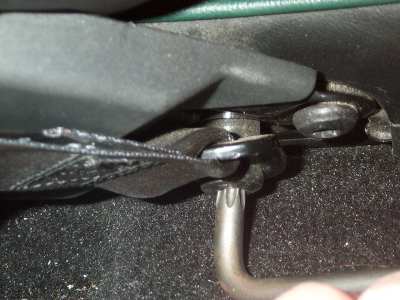
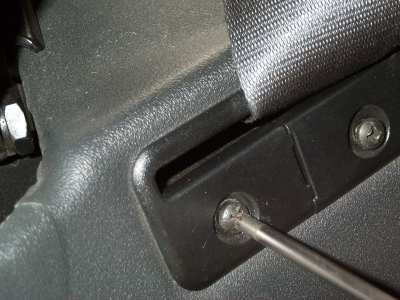
a node to the seatbelt and off the bolt with a Torx 50 driver | bracket at the seatbelt runway. The Jigsaw will cut you soon :)))) |
 |
 |
 |
  |
|
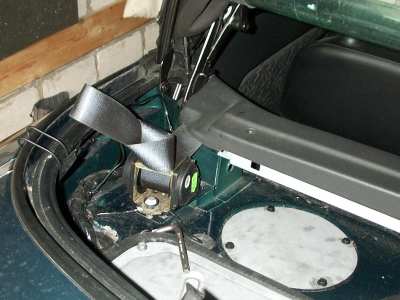
loosening the belt at the seat, a really boring job.... You need a T50 wrench |
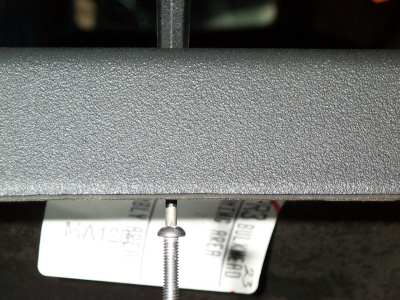
Loosen the doofers bolts and take care of the rear fixture plate | directing
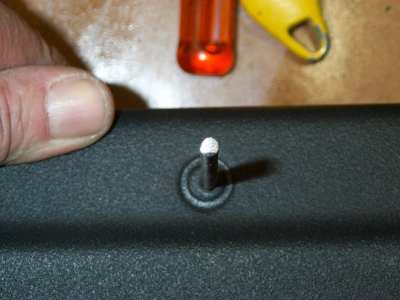
the screw driver to the T-Bars center hole & the screw to the main
frame |
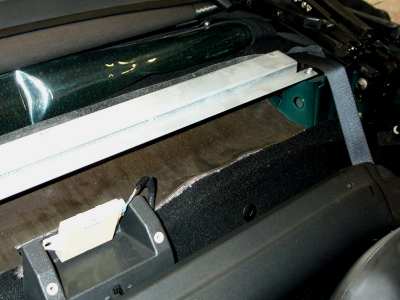
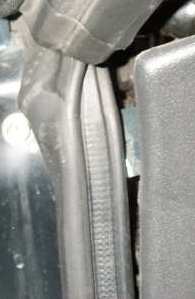
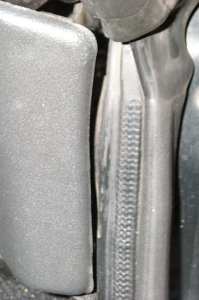
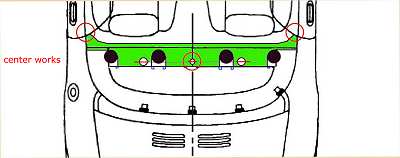
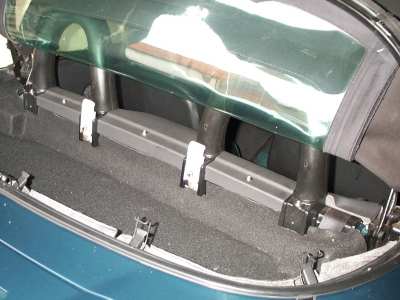
Right hand and left hand sides gap of the T-Bar to the door sealing. Everything was OK and much easier as it looks here. |
 |
|||
|
centering the
T-Bar to the door seals, The following works to the T-Bar took a long time of cutting, but I enjoyed it :)) |
|||
 |
|
 |
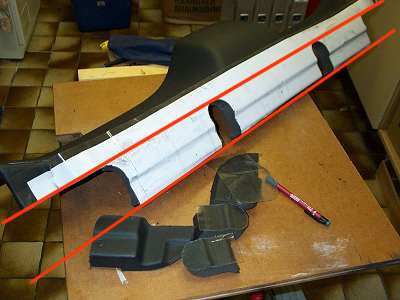 |
| template sticker, secure is secure, better check double and triple before anything goes wrong at the later cutting of U-shapes | preparing the template sticker, for pasting it to the T-Bar. At first bend it sharp at the position of the center hole and then only cut the cover paper on the bottom side. | The pasted sticker. The ends at the right and left side shape are a bit long, but indicate to cut parallel along the rear edge of the T-Bar | shape depth parallel to the rear edge, here indicated by the red marks |
 |
 |
||
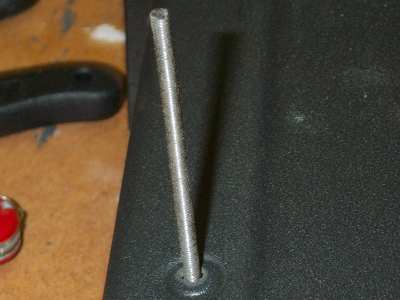
| A
M4 long threaded bolt screwed to the mainframes centre hole is vital
to direct the cut works in a closed loop by cut, check, cut. ... works like building a sculpture. :o) |
the top view indicates on each interference | ||
 |
 |
 |
|
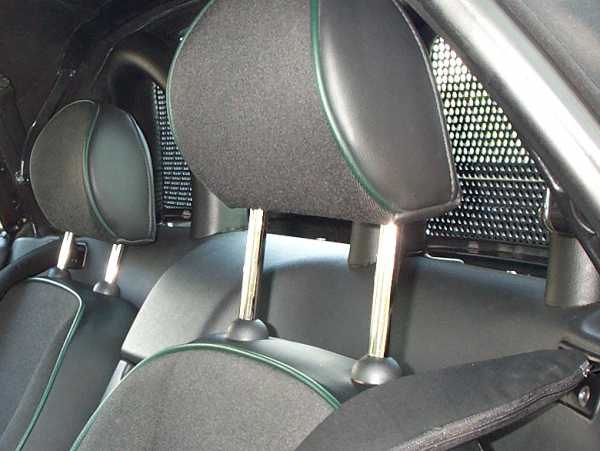
| shapes seen from out of the cars inner side | 2mm gap between the mainframe and the T-Bar foam should be ... but who cares, I am a 'small mashine engineer' and count in 1/10th mm... *g* | ||
 |
 |
||
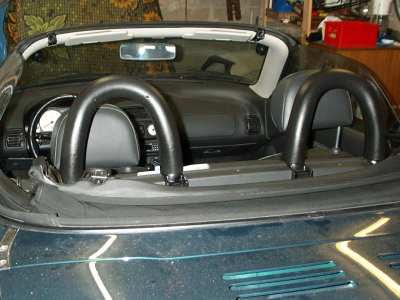
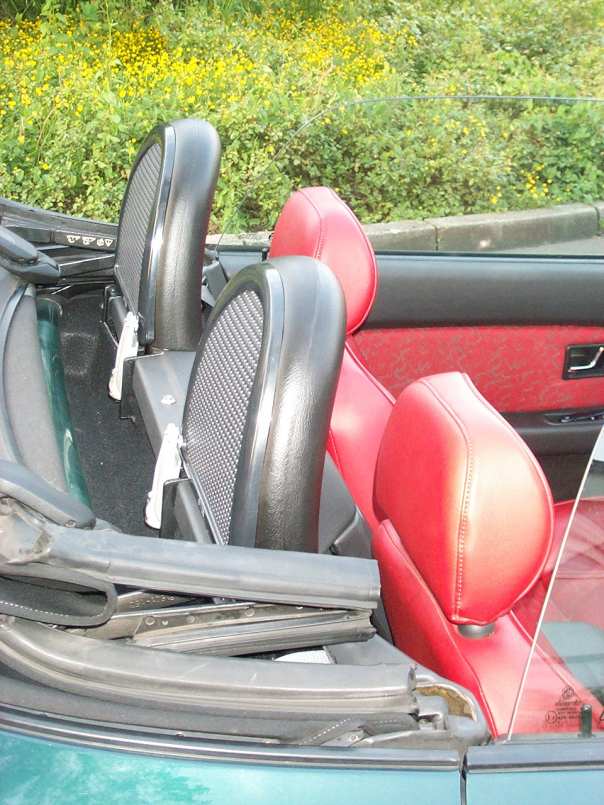
| 90 percent ready, hoops to bolt on from below, carpet to cut, windstop hinges to assemble | final carpet cut works | ||
 |
|
 |
 |
|
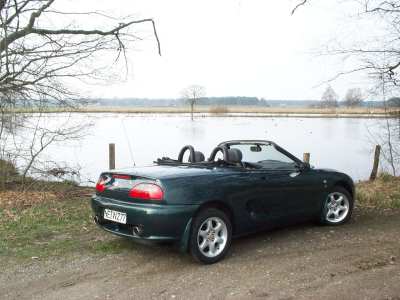
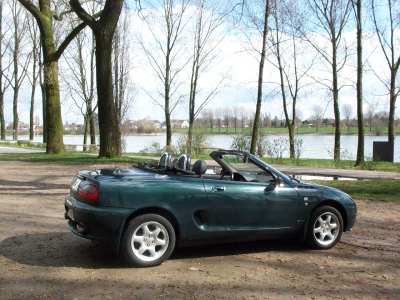
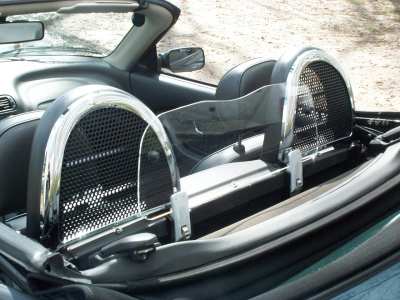
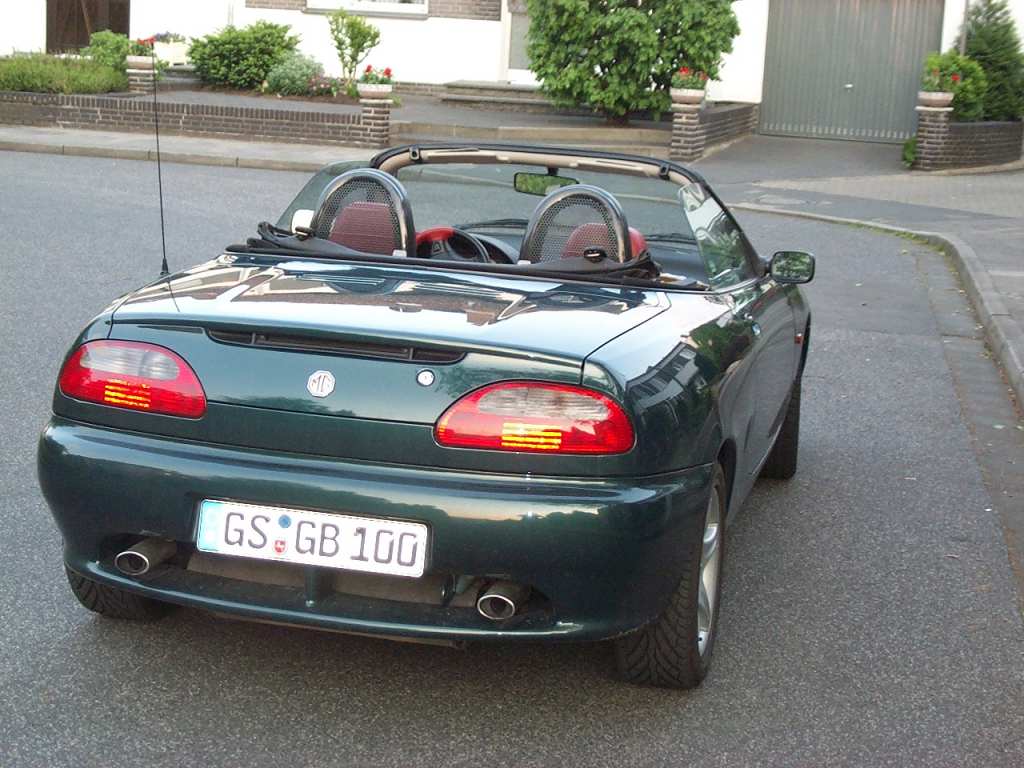
With
hoops only, at the river 'Aller' north of Hannover
|
 |
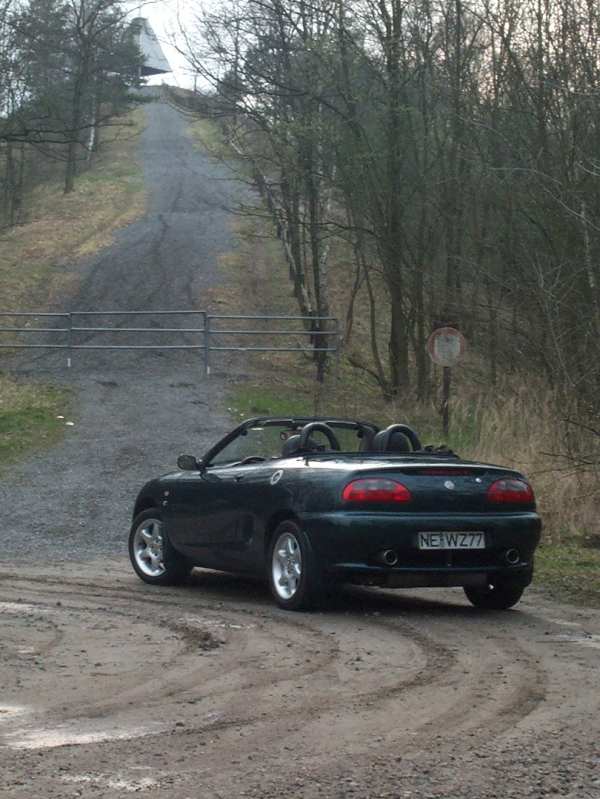
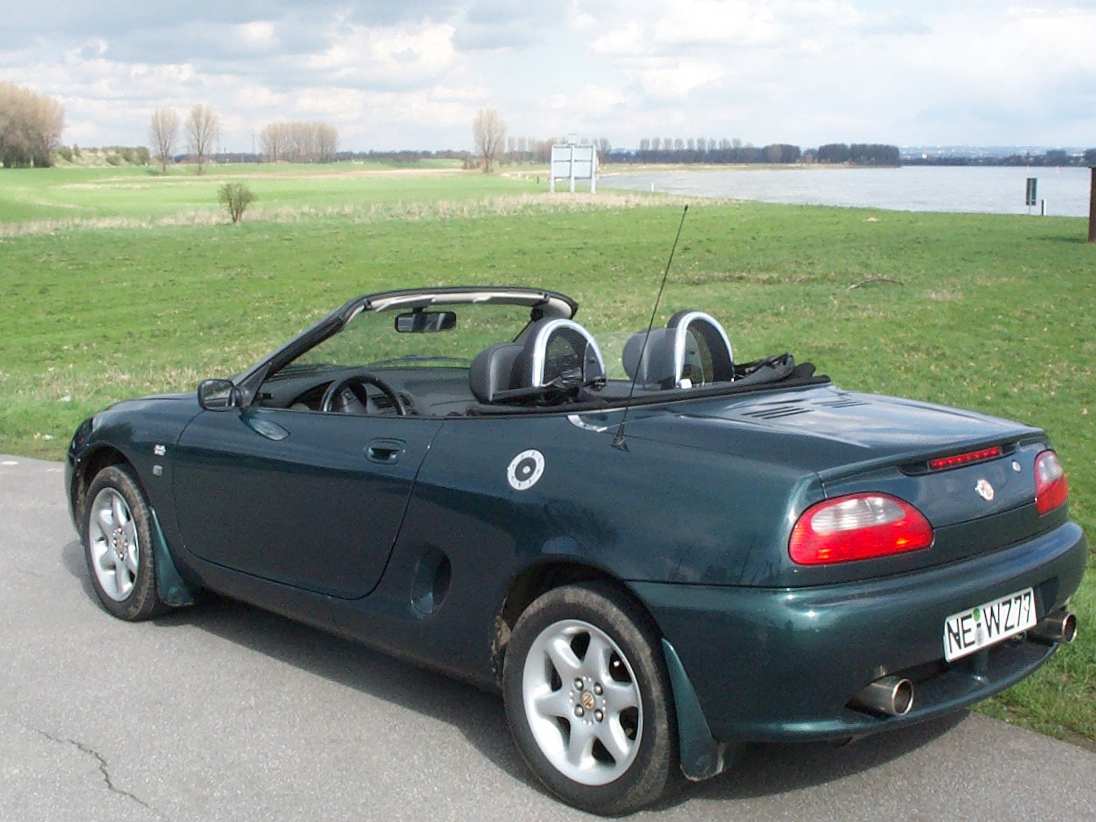
special
minds go to this hill at my birthplace. :) My father worked here 20
years ago and I often brought him his lunch
|
 |
 |
 |
 |
 |
|
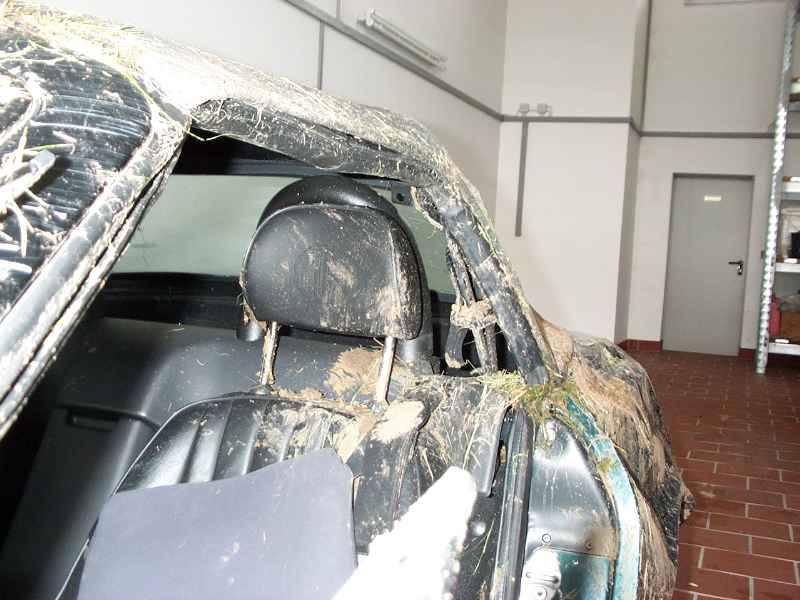
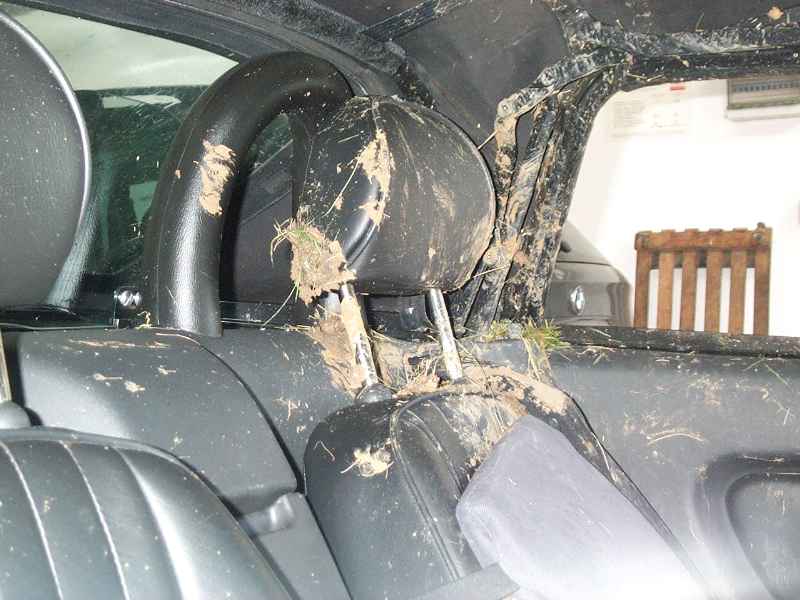
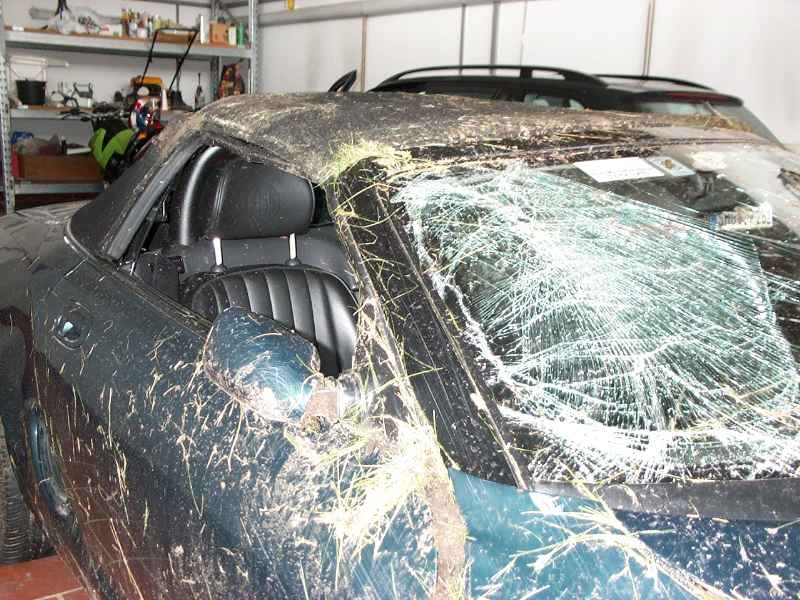
three
month later I unfortunately had a strong roll over accident. Survived
non-hurt.
|
|||
|
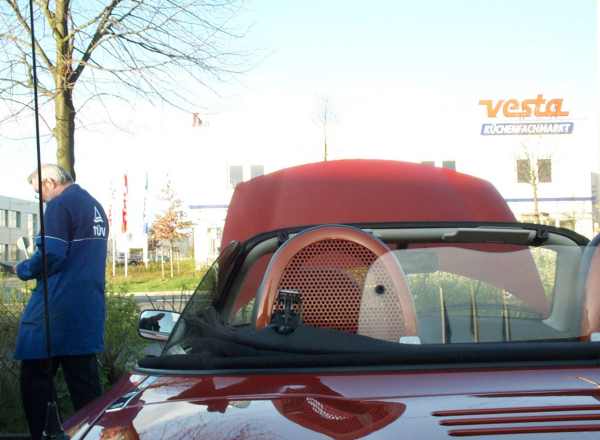
The roll hood cover does not fit any longer. The above image indicates the interference at the outer right and left hoop base. Don Liang will introduce a light fabric RHC soon Anyway, the TUEV individual approval was done without Roll Hood Cover ;-) |
|||
 |
 |
 |
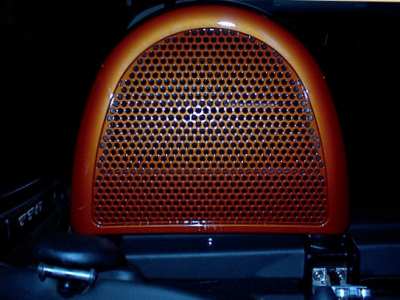
This
is another installation of our omnibus purchase. Customised windmesh, complete sprayed in volcano orange Sorry, the weather here is currently only good for garage photos |
|
 |
 |
 |
|
*g* I'm not that chrome shine lover, .. pssst....so lets see how to
customise the windmesh to my individual requirements. May be I'll let
it spray in BRG with PU-paint to match my MGFs colour, but only the
outer chrome shining bow, not the black mesh in my case. :)) |
I needed about
6 hours including the photos for completing the works.. |
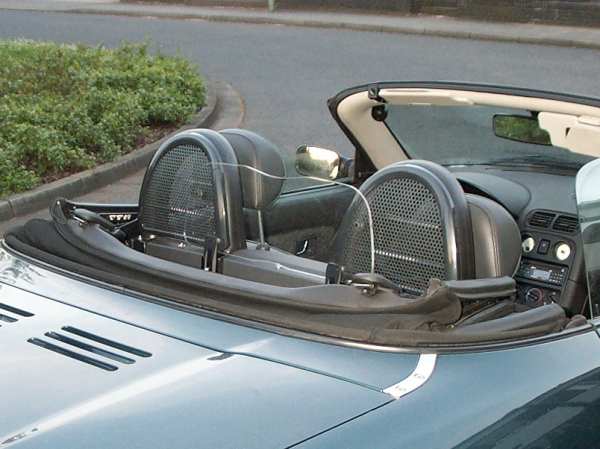
Now I customised the shining mesh frame to anthracite colour. :)) |
The hinges got sprayed in black colour. |
 |
 |
 |
 |
 |
 |
 |
ARTRA No 92 installed in May 2001 at Nikolaijs MGF. |
|
The German TÜV
authority released this job in individual case. The Original all other availiable stuff is not designed with CAD and for my knowledge not calculated by 'finite elements' |
Material no longer
available: The Original Part
Design from ARTRA and Don Liang has no relation to other similar part
!! |
||