Cam Bolt K-Engine /MGF
cortesy Hanah Kim
remove
the five 8mm headed bolts that secure the top cam cover, then only loosen
the remaining lower left 10mm headed bolt. Lift off the front cover.
You now see the two cam wheels which are secured to the camshafts by way
of centre bolts. These are the two bolts for the front of the engine.
At the rear of the engine is anopther simpler plastic cover that when
removed reveals the two rear cam wheels and the same bolt fixtures are
used. It is the tightening torques of these that have caused the big issues.
Moving back to the front of the engine there are two small 8mm headed bolts that are located below the cam centre lines under each cam. These are the anchor bolts that secure the back of the belt cover to the head and I have seen occasions when one of these comes loose it causes a regular and loud tick. I do not think that this will be your problem though.
I think the crux of this problem is whether the engine is running on 4 cylinders or not, and I do not suggest that you run it just to find out now. If it was down on a cylinder then the common factor would be a burnt valve, which creates a really rough engine in running and sound. Causes of this can be varied, but poor valve to seat contact not allowing good heat transfer between valve head and seat is a common cause of overheating valves that then break a piece which goes straight down the exhaust. If you find broken valves do remove the cat and see it if is lodged in the front section. Burnt valves are just that burnt over a period of time. However this is not condusive with a sudden change of engine character.
Running cleanly on all cylinders, yet making the noises points to an external (i.e. outside the combustion chamber) mechanical fault.
The base line is that with the engine still running after the audible onset of the problem, there is a good chance that damage inside, wherever it is, is limited.
Rog
From: Roger Parker
Tamworth ------@virgin.net on 22 July 2001 at 01:18:39 (UK time)
Yesterday I changed the head of another F for a modified one. No gasket
failures to consider but the work is similar.
I have noted a marked reduction in the incidence of failure in cars after 1999. Why? Well there are a raft of changes to the engines by those who have been sitting on their bums!! There is a valid point in terms of support for those who have cars in this succeptable period and suffer from failure.
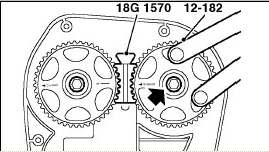
Positioning the engine prior to removal of the belt is a doddle and there are plenty of marks. However note that the cam wheels are the same on MPi models for both cams and have identical marks. On one side you will see inlet and a notch in the toothed edge of the wheel and on the opposite side you see exhaust with a similar notch in the wheel edge. Under the locking bolt washer are two slots for the roll pin that provides location on the cam. These too are marked in and ex.
I raise these points to ensure that you are aware that you must fit to the correct holes for the cam your fitting the wheel too. I make a simple mark just top ensure that I refit the same wheel to the same cam. Not vital as long as the correct p[osition is adopted, but it makes for a simpler refit if you do mark each.
Cambelt changes require that the bottom pulley is removed. This is something that I cheat with as I have air tools that makes light work of tight bottom pulley bolts. However this should be lossened long before the head is removed, using whatever long levers and extensions etc suitable for the purpose.
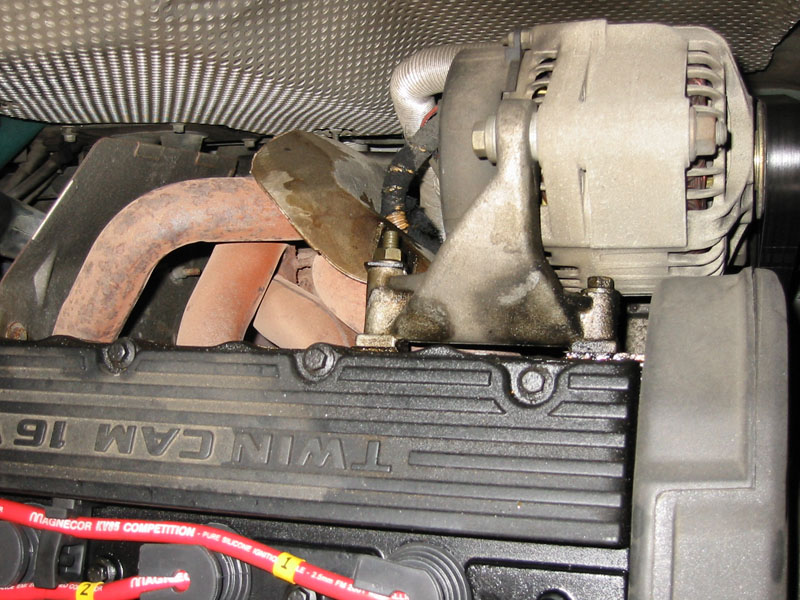
Oh whilst in this area you have to remove the alternatoir drive belt and just to add to the problem there is a very small bolt that sits in the alternator, with it's head sticking into the adjuster bracket. This means that you undo all the nuts and bolts to find that the alternator won't adjust. You have to disengage this hidden bolt first.
Cam belt removal needs the engine mounting on the offside to be removed and the engine supported. The 18mm nuts and bolts for engine mountings are long standing, but still an odd size. The cramped engine bay of the MGF doesn't allow good access for a socket and damn all for any other tool. Use of a long lever is likely!!
To remove the mounting requires that the two main bolts to the engine bracket are removed and the nut onto the body rubber. Then there is the torqur reaction arm that has to be detatched and you thinlk that's it. It is until you try and lift off the bracket!! There is a steel rod cage preventing it from being removed and this is held on by two 13mm headed bolts. Problem is that one is completely hidden! Undo the one you can see and then use a lever to push the road towards the outside of the wheelarch. This gives enough room (just) to slide the bracket up and off.
I suggest that you leave the mount in place (loosened nuts and bolts first though) until the engine through bolts and other high torque bolts are removed or at least loosened and once this bracket is out the engine flops around like a wet blanket.
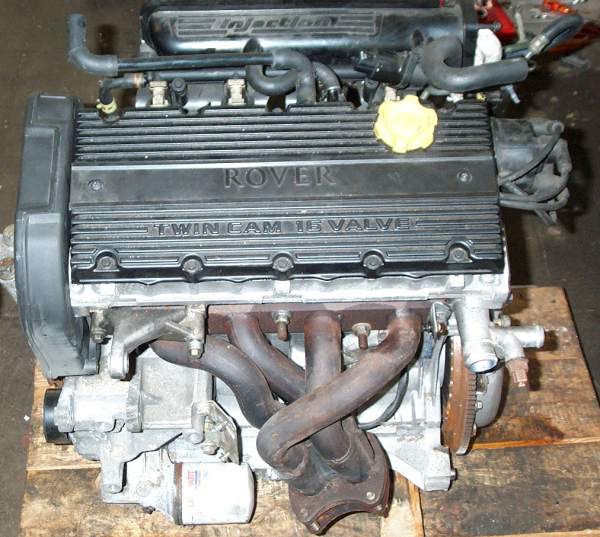
Actual removal of the bolts holding the wheels to the cams can be somewhat trying!!! The engine position does you no favours here. There is a proper tool for locking the two wheels together (see Haynes)and this can be fabricated reasonably easily. This lockout tool is required whilst you crack the bolts on each wheel. It being a good job that there is a 17mm head on these bolts!!
Cam wheel removal is needed because the belt backing plastic cover is attached to both the head and block and is a continuous run down the exhaust side of the engine. Accidental breakage of this at a seam level with the head face line seems reasonably common and can allow the head to be removed without taking the cam wheels off, however you can't retain the cams in the correct timed positions as the centre two through bolts have their heads slightly covered by casting sections that protrude from each cam. It is vital that your E12 socket has full engagement on the head of each bolt at all times your loosening and ticghtening these. The cams have to be turned more to allow the wide head to pass the cams before you can remove them.
 broken cam bolt
Invoice of Mike C. for an engine
rebuid after the cam bolt at his VVC had gone
Back to MG Enthusiasts' BBS
Hint:
Mike Satur supplies a strong cam bolt kit. either 4 MPi with one bolt
and washer or for VVC with two bolts and washers